The Mubo Decision PTO (id:#62293)
Mubo, New Guinea
1943-01-11 (0 others)
Designer: Andrew Rogers
Starter kit scenario?: Deluxe scenario?:
Balance:
AustralianJapanese
Overview:
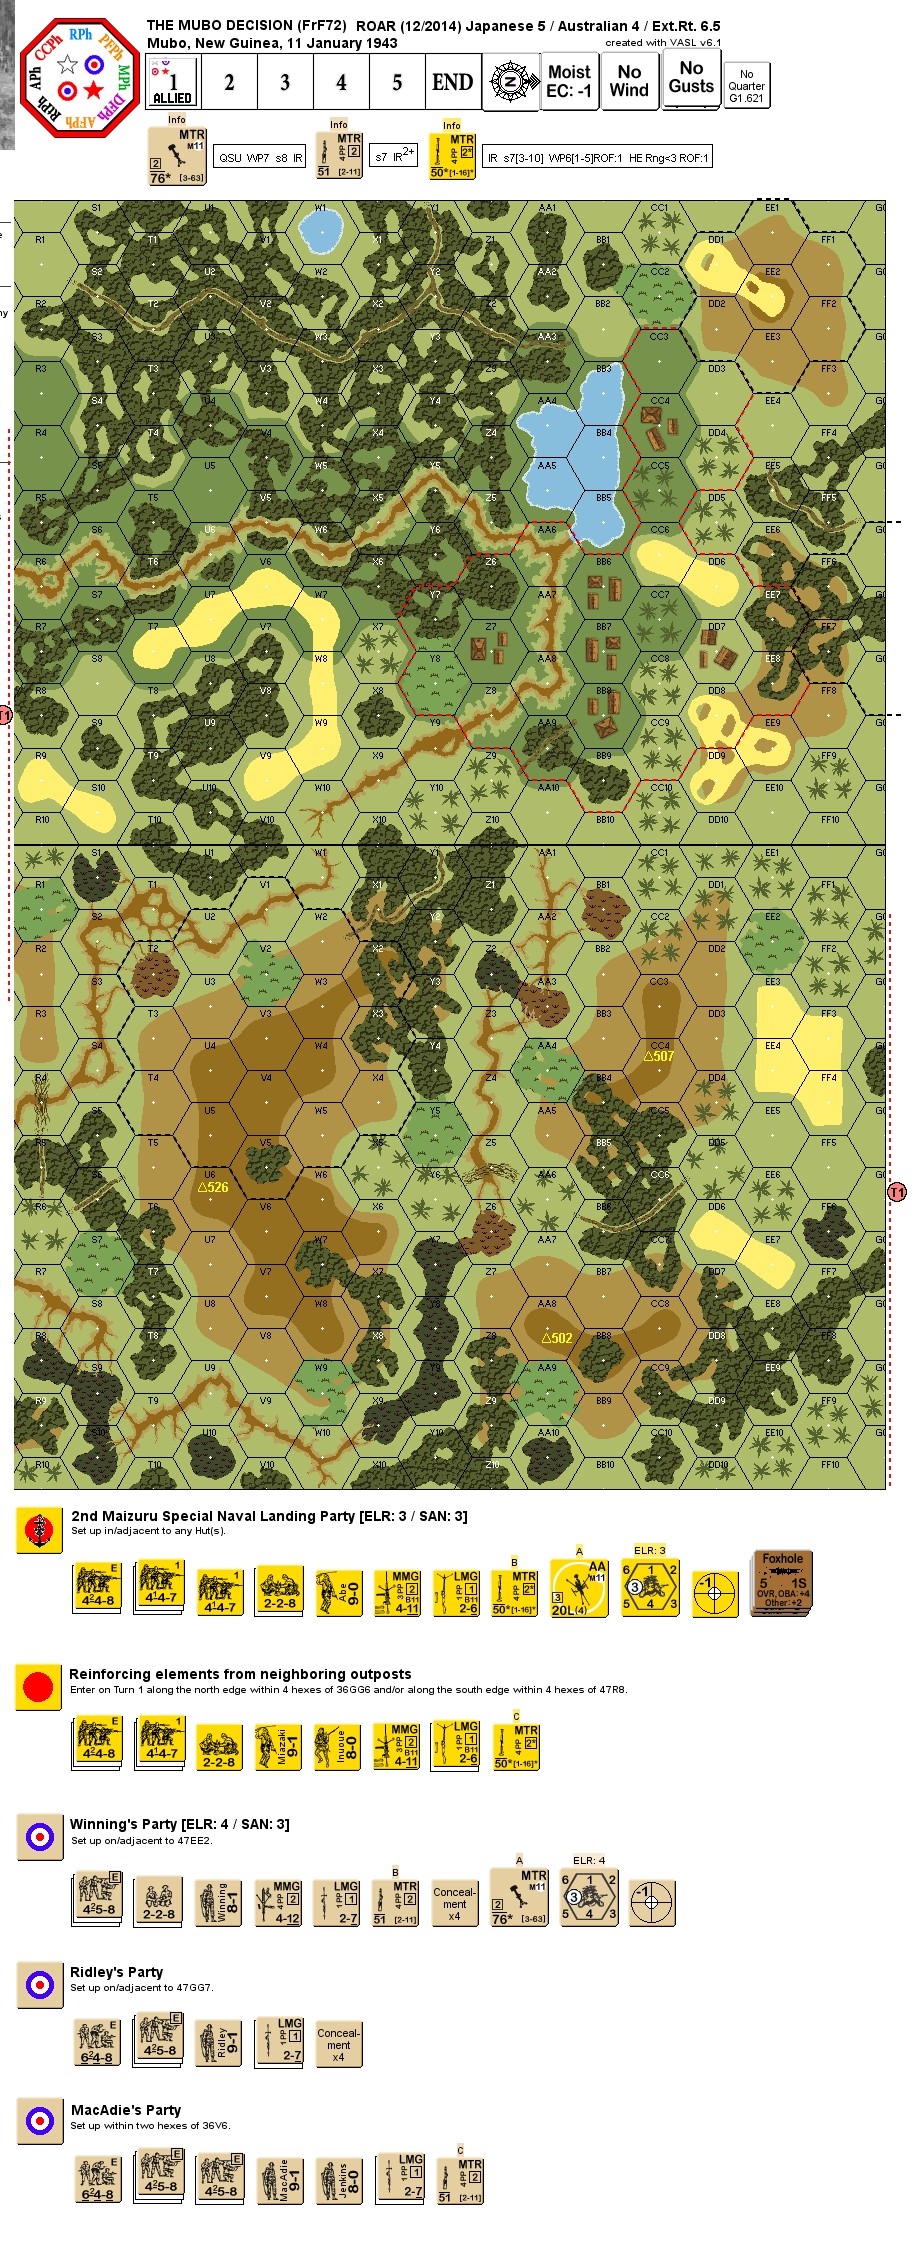
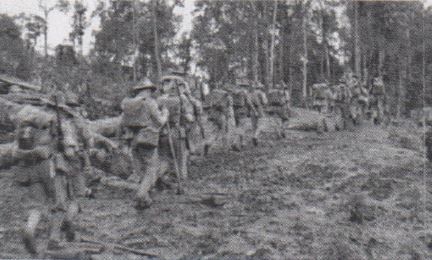
In early 1943, the strategic situation in central New Guinea remained unresolved. The Japanese build-up created an expectation that the Japanese would move first. To counter these expectations, Australian commander Lt. Col. Fleay mustered 300 Australian commandos and launched a raid against the key Japanese outpost at Mubo. This village was located approximately 20 kilometers from the Japanese-held coastal village of Salamaua, the scene of an earlier successful ANZAC raid. Fleay sought to surround Mubo and then launch an attack. Australian commandos from the 2/5th and 2/7th Independent Companies were broken into five parties and after a long march through jungle and mountainous terrain sought to attack Mubo from three directions. A reinforced company of naval troops from the 2nd Maizuru SNLP protected this outpost and its neighboring airfield.Attacker: Australian (Winning's Party | Ridley's Party | MacAdie's Party)
Defender: Japanese (2nd Maizuru Special Naval Landing Party)
5 turns
Players: 2 OBA: None Night: No| Unit Counts: |
| Squads: A:13.5 D:14.0 |
| AFVs: A:0 |
| AFVs: D:0 |
| Guns: A:1 OML 3-in. Mortar D:1 OML 2-in. Mortar x 2 Type 98 High-Angle Machine Cannon Type 89 Heavy Grenade-Launcher x 2 |
| Misc Rules: | PTO (G.1), Streams: Dry, NQ (A20.3) |
| Map Board(s): |
| Overlays: | NONE |
Errata (source)
Players wanting to play this game/Request a match:
Scenario info
Last Played:
View all or balance report
| Action | Date |
|---|---|
| Bongiovanni Added a playing | 2025-11-10 14:33:23 |
| von Marwitz Added a playing | 2025-11-09 18:20:07 |
| jwert02 Added a playing | 2025-10-26 00:55:53 |
| Hutch Modified the misc. rules | 2025-08-13 18:58:33 |
| Bongiovanni Uploaded a VASL file | 2025-08-13 16:48:35 |
| File | Description | User | Views |
|---|---|---|---|
| VASL Scenario Setup (FrF-72 The Mubo Decision v667.vsav) | VASL Setup | Turuk | 1132 |
| (FrF072 The Mubo Decision v6610 Scenario Archive.vsav) | VASL Setup | von Marwitz | 752 |
| FRF72 Setup File 671B5 (FRF72 Setup File.vsav) | VASL Setup | Bongiovanni | 687 |
| (FrF72 The Mubo Decision Scenario Picture.JPG) | Image | von Marwitz | 664 |
| (auss-jap new.png) | Image | hoxson1 | 695 |
| (FrF072 The Mubo Decision Scenario Archive.jpg) | Map Image | von Marwitz | 2169 |
| Description | Uploaded by |
|---|
| Title | Author | Date |
|---|
| Description | Uploaded by |
|---|
Quick Map View
Location
Images

| Statistics: | ||
| Avg Rating: 6.97 | Votes: 30 | Views: | 6027 |
| To-Play list count: | 0 | |
| Estimated Play time: | 3.4 hours | |
| Recorded Games: | 30 | |
| Archive recorded plays: | ||
| Australian | 19 | |
| Japanese | 11 | |
| Drawn: | 0 | |
| ROAR Data: (as of today) The Mubo Decision [Confirmed] |
| [A] Australian | 47 |
| [D] Japanese | 54 |