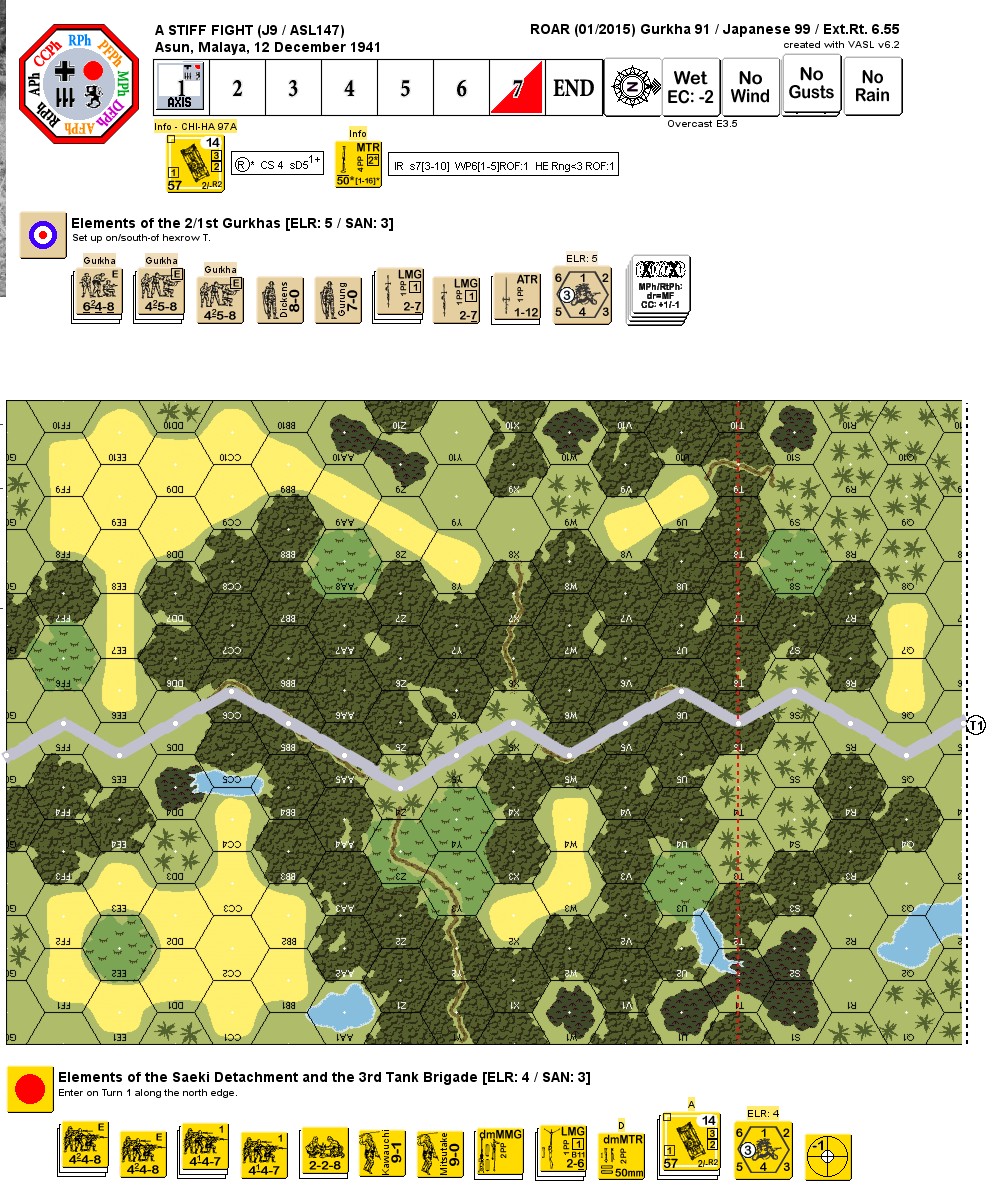
A Stiff Fight CBI (id:#56402)
Asun, Malaya
1941-12-12 (6 others)
RP 2: The Glory Road (Rout Pak I)
X 8: The Glory Road (Rout Report # 2)
147: A Stiff Fight (ASL 13 - Rising Sun)
Round 2: The Recalcitrants (SAGA 1994)
147: A Stiff Fight (ASL 13 - Rising Sun (2021))
147: A Stiff Fight (ASL European Union Championship 2024)
X 8: The Glory Road (Rout Report # 2)
147: A Stiff Fight (ASL 13 - Rising Sun)
Round 2: The Recalcitrants (SAGA 1994)
147: A Stiff Fight (ASL 13 - Rising Sun (2021))
147: A Stiff Fight (ASL European Union Championship 2024)
Designer: Steve Petersen and Brian Youse
Starter kit scenario?: Deluxe scenario?:
Balance:
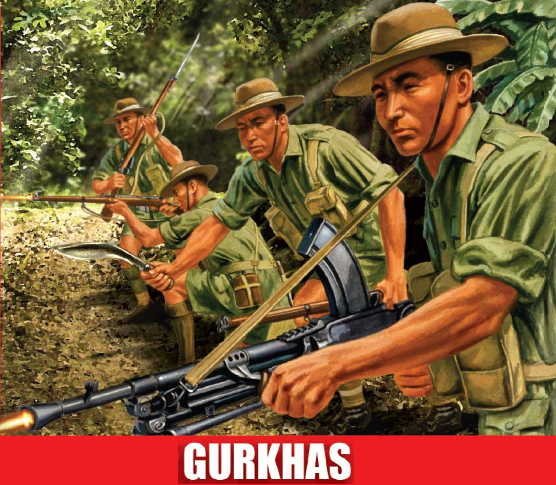
JapaneseGurkha
Overview:
At the start of the Malayan Campaign, British forces thrust into Thailand with the intent of capturing strategic points to deny them to the Japanese. Once the Japanese landed at Kota Bharu, however, the British realized they would soon be flanked and recalled their troops. This useless movement weakened the British line at Jitra, where the Japanese finally attacked and soon overran the initial British units, forcing them to withdraw. Near dawn on the 12th, the Japanese forced a detachment of tanks and infantry down the trunk road until, on the outskirts of Asun, the lead tank was knocked out and a Gurkha position was discovered blocking the road.Attacker: Japanese (Saeki Detachment and 3rd Tank Brigade)
Defender: Gurkha (2/1st Gurkhas)
6.5 turns
Players: 2 OBA: None Night: No| Unit Counts: |
| Squads: A:8.0 D:7.0 |
| AFVs: A:3 Type 97A CHI-HA x 3 |
| AFVs: D:0 |
| Guns: A:0 Type 89 Heavy Grenade-Launcher D:0 Boys ATR x 2 |
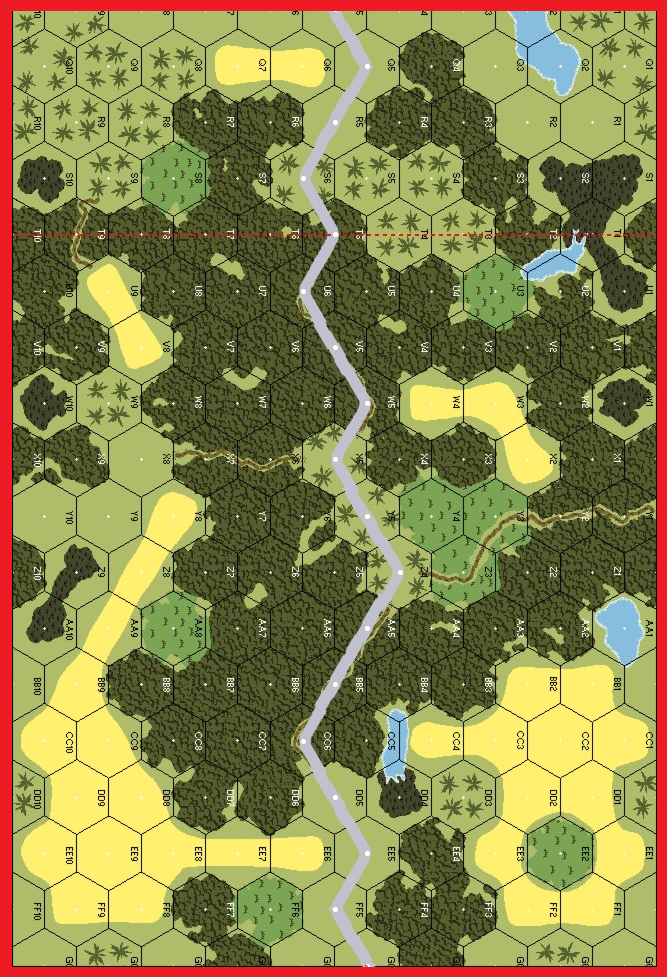
| Misc Rules: | PTO (G.1) Exc: Central Paved Road exists. Overcast, Wet. D: No more than 2 Wire in road hexes. |
| Map Board(s): |
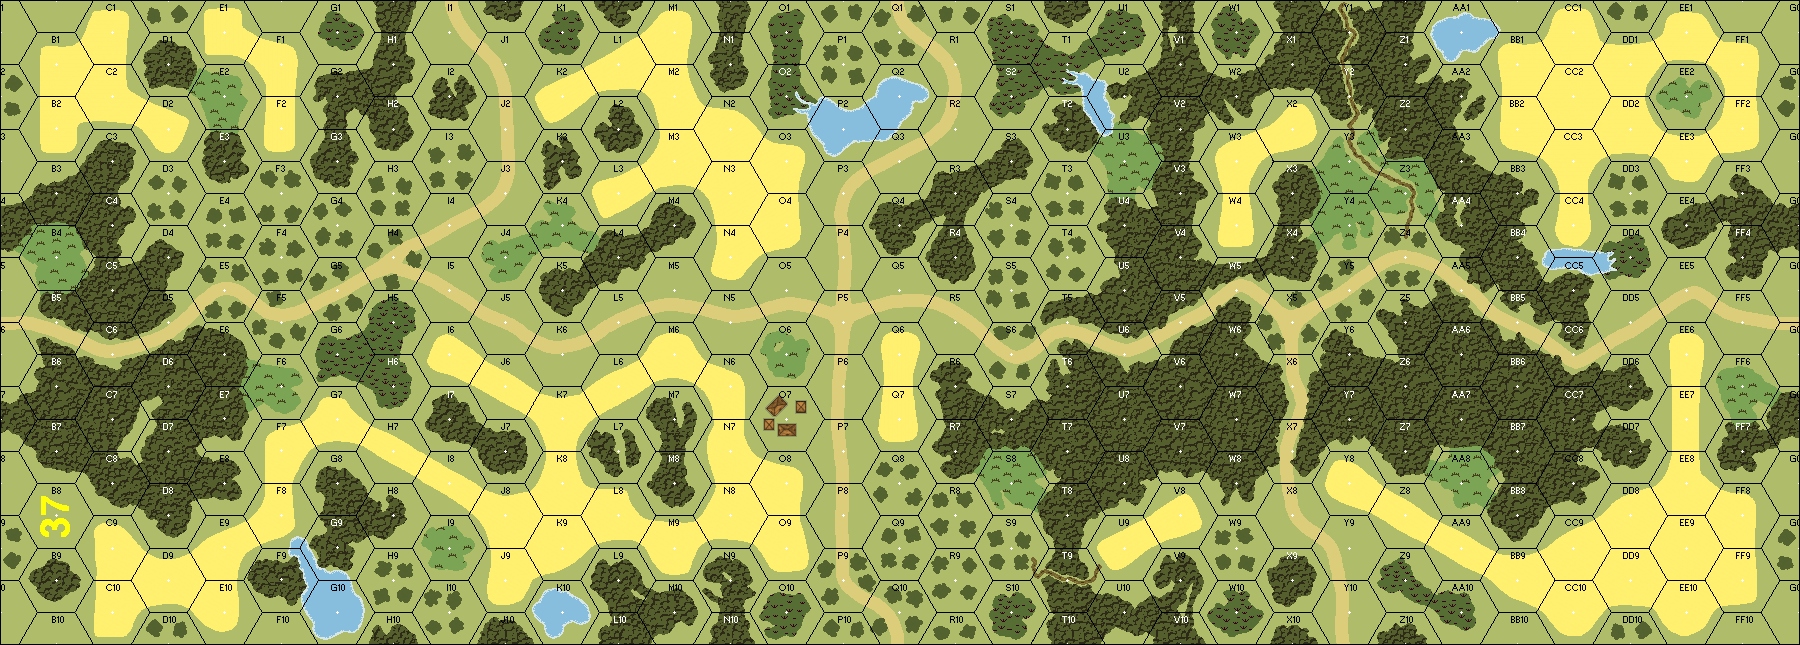
| Overlays: | NONE |
Errata (source)
Players wanting to play this game/Request a match:
Scenario info
Last Played:
| Date | Reporter | Opponent | Bal. | Result | Time | Comments | |
|---|---|---|---|---|---|---|---|
| 2025-09-17 | (A) Paul Legg | vs | John Mcloughlin | Japanese win (VASL Log) | Friday Night Fight (log 3.7.16/6.7.1-beta5) A hard fight for the road despite John being a relatively new player and inexperienced opposing Japanese. | ||
| 2025-09-12 | (A) Mark Thompson | vs | Christopher Blair (Gurkhas) | Gurkha win | The Gurkhas played this one exactly right - stretch the Japanese out and force them to cover the entire length of the road, consolidate stacks with concealed 6-4-8 combos, hit the weak point adjacent to the road, and hang-on (which they did). A bit tough on Japanese with this type of strategy as CC is rough and AFVs are fairly thin soup from an OVR-perspective (and make ambush odds far worse when employing VBM freeze). I remembered WP for Japanese squads but didn't pan out. | ||
| 2024-12-28 | (D) Camille Garek | vs | Florian YVIS | Japanese win | |||
| 2023-06-04 | (A) Rich Weiley | vs | Eric Topp | Japanese win | |||
| 2022-11-10 | (A) Lawrence Spangler | vs | Diane Spangler | Gurkha win |
View all or balance report
| Action | Date |
|---|---|
| FMFCB Added a playing | 2026-04-22 21:40:56 |
| nicotum Added a playing | 2026-04-15 21:44:32 |
| Thompsonmg(MGT) Added a playing | 2026-02-22 21:25:51 |
| Hutch Modified the misc. rules | 2025-12-12 12:17:45 |
| Paul Legg Added a playing | 2025-09-17 21:40:05 |
| File | Description | User | Views |
|---|---|---|---|
| VASL Scenario Setup (ASL147 J9 A Stiff Fight v667.vsav) | VASL Setup | Turuk | 1192 |
| End of GT6 (J9 end of GT6.JPG) | Image | dieneuner25 | 2055 |
| (J009 A Stiff Fight Scenario Archive.jpg) | Image | von Marwitz | 2054 |
| (gurkha jungle art.png) | Image | hoxson1 | 1822 |
| (jap-gurk sm.png) | Image | hoxson1 | 1359 |
| VASL Log file (J009 FNF Play2.vlog) | VASL Game Log | Paul Legg | 670 |
| (stiff fight map.png) | Map Image | hoxson1 | 1394 |
| Description | Uploaded by |
|---|
| Title | Author | Date |
|---|
| Description | Uploaded by |
|---|
Quick Map View
Location
Images
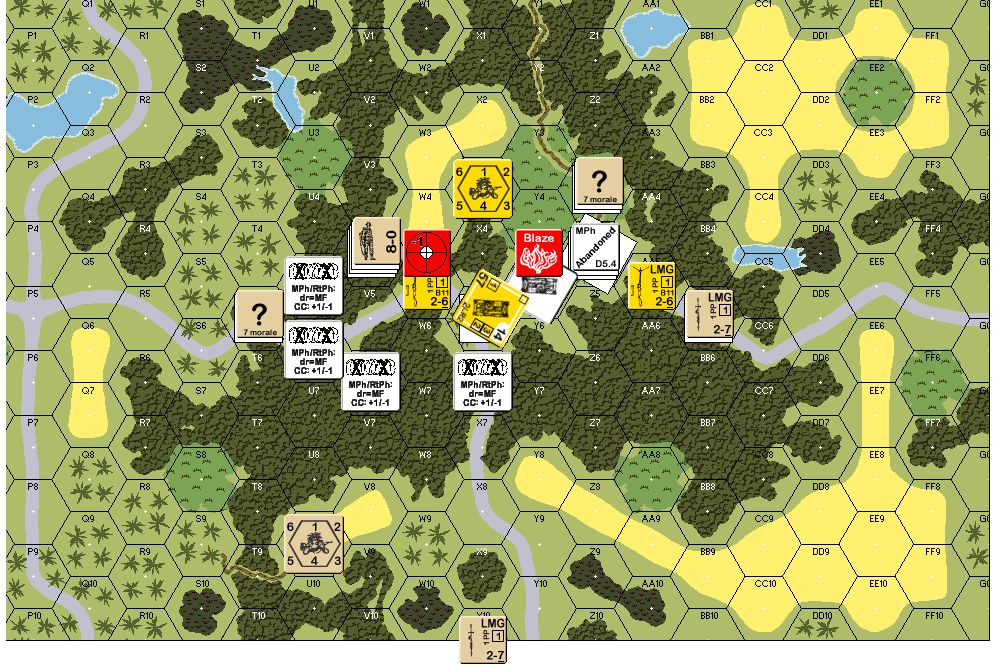
End of GT6

| Statistics: | ||
| Avg Rating: 6.88 | Votes: 51 | Views: | 10931 |
| To-Play list count: | 5 | |
| Estimated Play time: | 3 hours | |
| Recorded Games: | 50 | |
| Archive recorded plays: | ||
| Japanese | 25 | |
| Gurkha | 25 | |
| Drawn: | 0 | |
| ROAR Data: (as of today) A Stiff Fight [Confirmed] |
| [A] Japanese | 110 |
| [D] Gurkha | 109 |