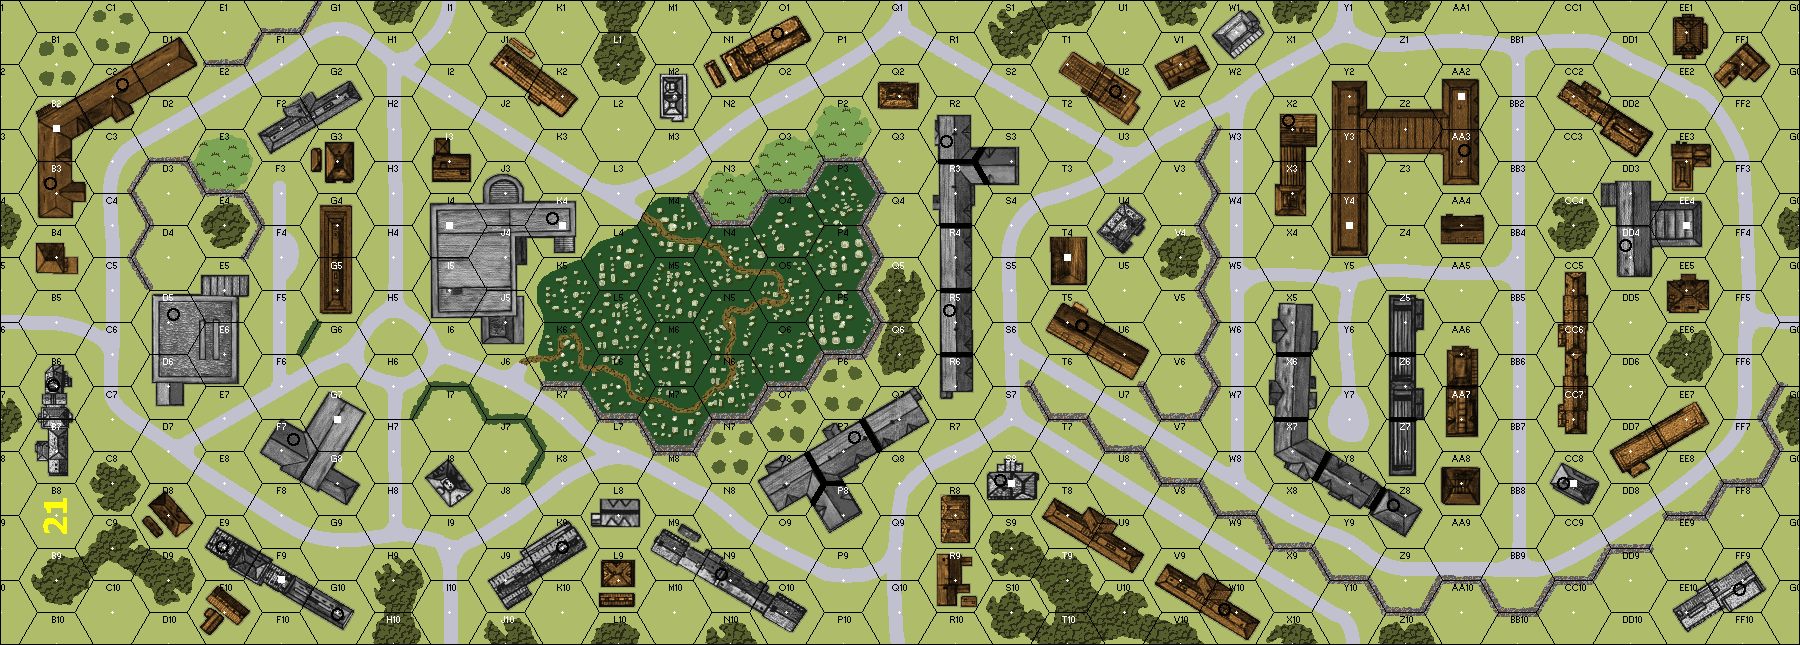
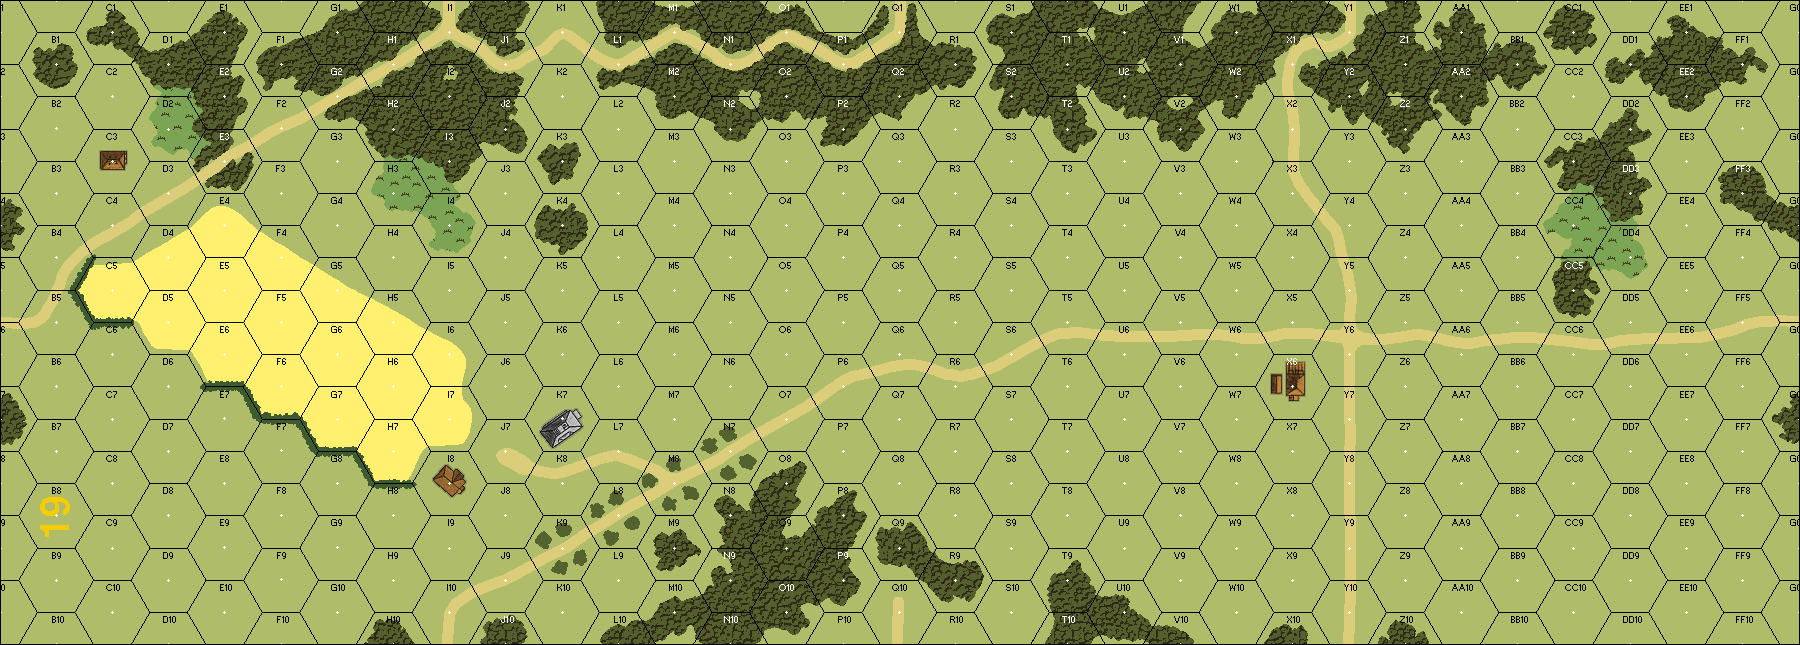
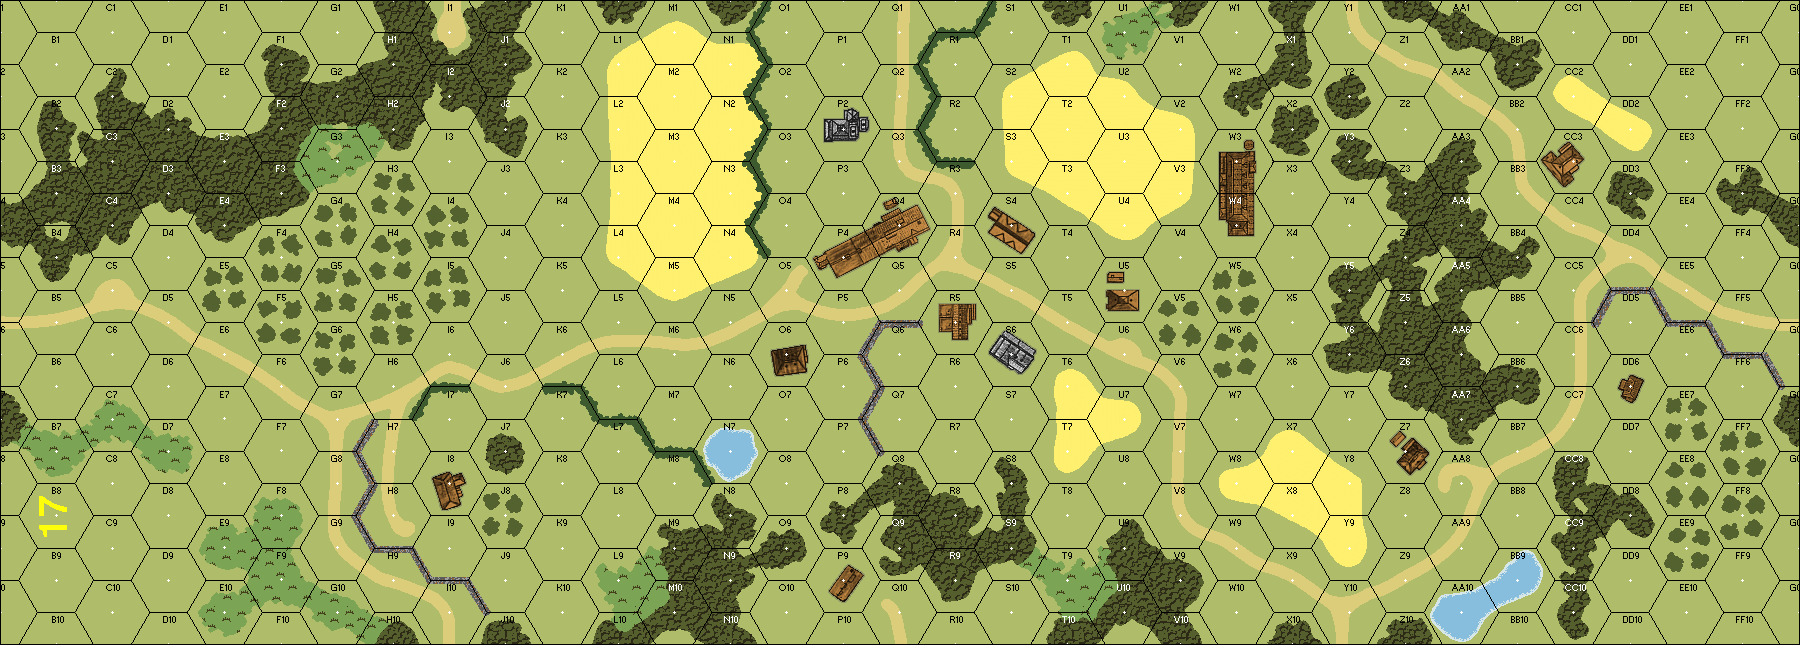
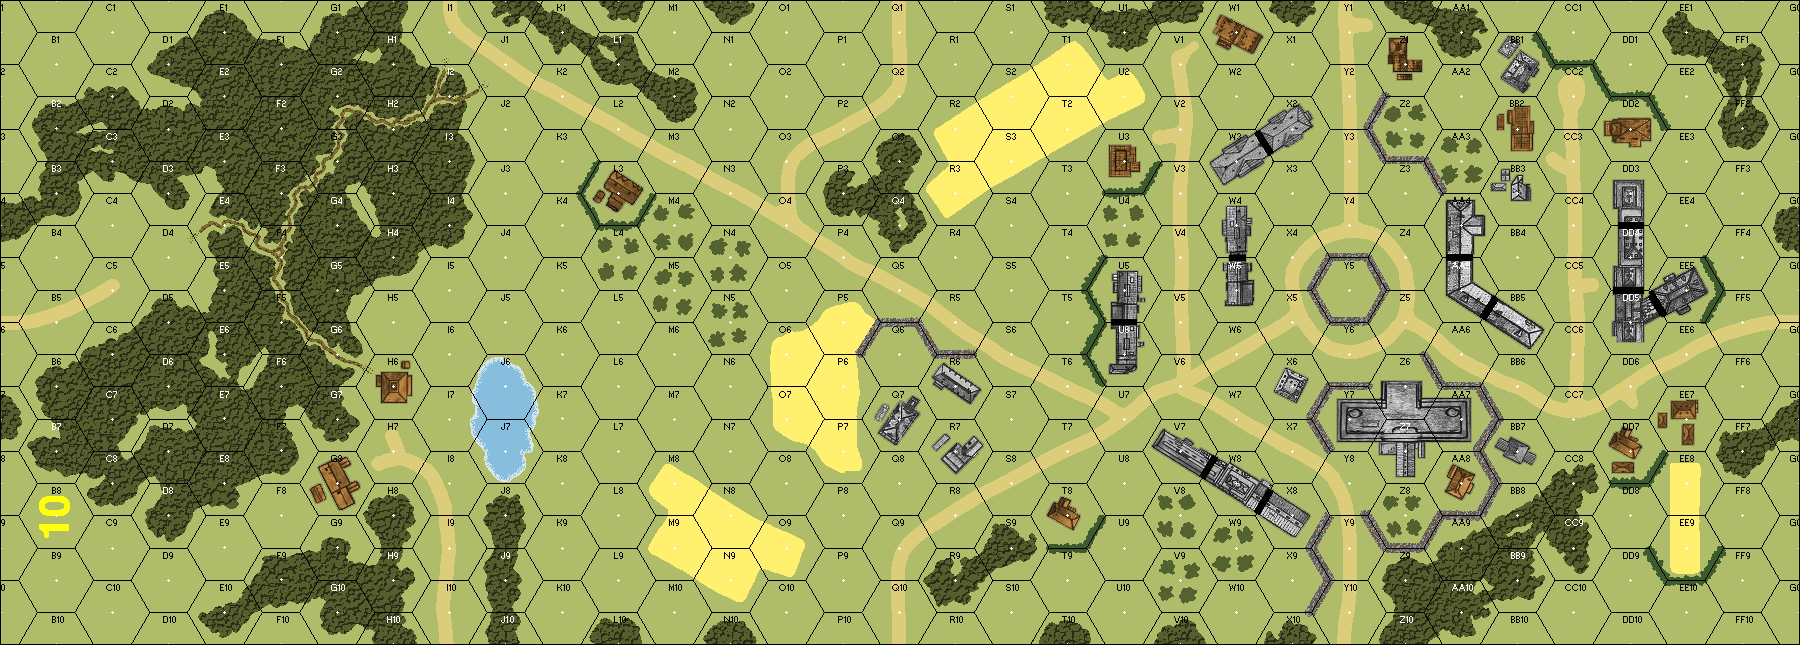
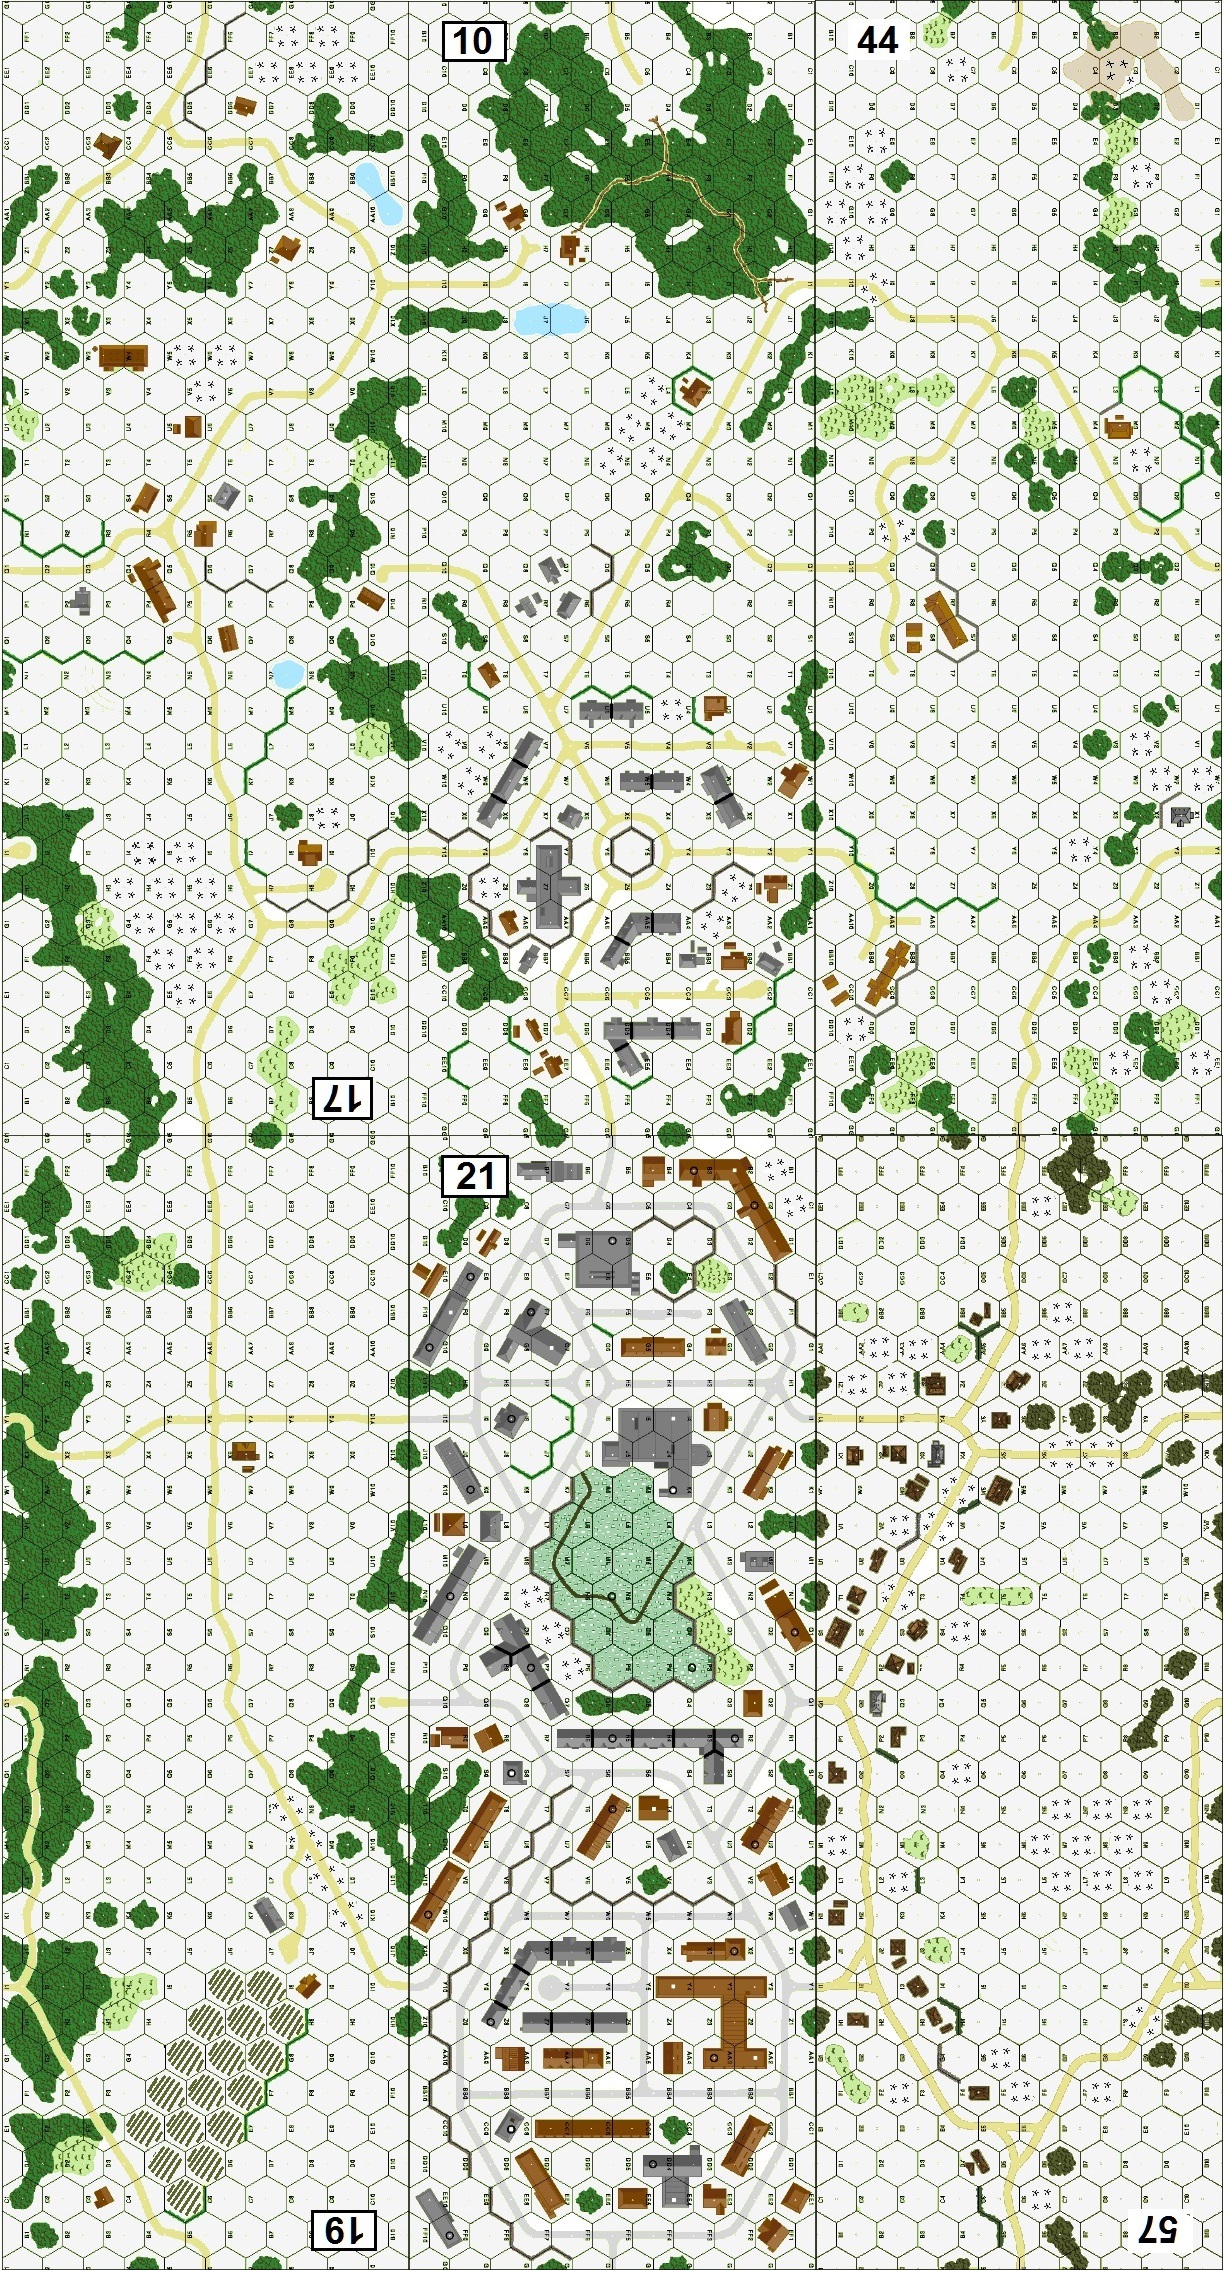
| 2025-12-03 | (D) Jeff B | vs | Scott Sherer | | German win | 34.25 hrs | Having played this with an early Allied victory the first time, we decided to swap sides and play this highly replayable scenario again. Whereas I went for swooping in from each side, Scott tried a NW approach, with his tanks spread equally across the front. We both learned from our first playing. I placed my wire, roadblock, and mines to prevent a quick strike on 10Z7. And, where Scott had left this building unprotected, I placed a stout defense around it. I also forgo fortified buildings to make use of quick-escape tunnels. I also heavily defended both the far north and far south to prevent exactly the type of approach I had used. He dropped a bit of WP to enshroud his approach, but it was a wide front, and much of my defense was predicated on FLs anyway. First turn saw a couple Ami casualties, in the form of an 8-0 and a berserk HS. We would have many HoBs, though most of them occurred later in the game. Turn 2 saw a HT knocked out, a Sherman immobilized by one of my AT guns, and a few Allied breaks; a few of my dummies were exposed, and my LMG that knocked out the HT broke. Scott lost access to his OBA after misjudging a LOS, and it would never return due to red-chitting out. Turn 3 was costly for the Allies, losing two Ami squads and a FrF HS, but he was starting to line a wide swath of men and tanks ready to commence the assault in earnest. His immobilized tank broke its MA, further proving it was not battle-ready. Turn 4 saw the first German casualties, in the form of a HS and broken LMG, but the Allies lost another Ami squad, and two Shermans (one being the immobilized one). The initiation of German OBA was appreciated, as the pressure on the center of town was intensifying. and they waved this threatening stick for a turn to dissuade a concentrated Ally amassing of troops. Turn 5 started to see the tide turn as the Allies grabbed their first building, though not without cost, as they lost two squads and a DC to do it. They attempted to swarm the bookended JgdPzs, and lost a Sherman in the process, but one of the German tanks was fried by the FT in revenge. The Germans dropped the OBA boom to slow down the assault on 21I5, but lost 1.5 squads, as well as their big mortar. They were also feeling the pressure, and shelled out for early reinforcing infantry. The bottom of the turn saw 3/4 hexes of the 10Z7 building locked in melee, and the sides swapped additional HS casualties. Turn 6 saw the holdout JgdPz easily fall to another swarm of Shermans, taking one down with it. The Amis lost another squad and used another DC, but the Germans lost a PSK and 2.5 squads, and saw the first of their many BHs around the 21D1 building. Most importantly though, the Allies were only able to capture one more building and thus would have to play the long game. Turn 7 finally saw the German 10-2 and his HMG nest fall, but two holdout HS still preserved the building. The Allies wrested control of the 21D1 building, but German bastions in 57Z0 and 21G2, as well as the outliers in the fields outside it continued to keep them at bay (the Germans BH yet another HS and generating a hero). Despite the bravery of his unit, the 9-2 proved a sniveling coward, broken and wounded. The 6+1's days of destruction were numbered as he was sent broken back to the upper reaches of 21K4, his future job to be maintaining control of the building. For the turn, besides the 10-2 and HMG, the Germans lost two more squads, compared to one HS and a DC for the Allies. Turn 8 finally saw the Allies gain control of 10Z7, and the press of Germans from the north forced them to guard it with a fair amount of force. Yet another German HS BH in the fields around 21D1, and the hero fried a Sherman, but for the turn the Germans paid a heavy toll as Ally muscle was too great, losing 4.5 squads, the hero, an 8-0, and two MMGs. The Allies burnt out a FT and a BAZ. Despite all these sacrifices, the game was pretty well a foregone conclusion at this point, but Scott wanted to see how far he could get and we played it out. Turn 9 was the Ami's turn to BH and generate a hero in the bloody fields around 21C2, but a brave 9-1 fried another Sherman, and one of the TDs was recalled by a sniper hit. Somehow the holdouts in 57Z0 managed to weather yet another blistering blast of Ami firepower. By the end of the turn the Allies lost 1.5 squads and a crew, to the Germans' 1.5 squads and an LMG. Turn 10 saw the Allies hellbent on taking as much more real estate as they could, but in the end they fell short of adding anything, still holding only the four hard-fought buildings they had grabbed. They lost another squad and DC, to the Germans' two squads and crew. We both expected the Allies to have exceeded their casualty cap, but their final tally was 64, with plenty of room to spare. Another very enjoyable playing of this fine scenario. Scott and I both enjoy scenarios that have multiple side battles away from the main action, and this one certainly delivers on that. Looking forward to see how the upcoming Jebsheim pack compares in recreating this part of the war. |
| 2025-12-03 | (A) Scott Sherer | vs | Jeff B | | German win | | In Jeff and I's replay, I tried a different strategy as the attacking American's than Jeff used in our previous playing. While he went for both flanks, I tried basically an up-the-middle attack, targeting the buildings 10Z6, 10EE5, 21D1 and 21E5 as the four buildings to grab to meet the early VC's. With those four buildings being the objective, I tried to get some MG firepower into the woods to 21H9 to isolate the buildings from the remaining German forces with FLs down the road, but couldn't get there quick enough. While the attack made reasonable progress, it couldn't quite get the four buildings in time, and we went to the longer game. The US pushed outward from there salient, but the stout Germans held on and the Americans ended up only getting four of the required seven buildings, with two more under hotly contested circumstances at the game end. As Jeff mentioned, there were alot of interesting side battles that were mostly (but not completely) tangential to the final outcome. In one of the most interesting (and probably relevant to the VC's), a desperate struggle for the non-VC building 21G2 generated heros galore and finally fell to the Americans but not soon enough to free up forces for the actual buildings they needed (i.e. 21I4). Another game with super crappy OBA luck, as the American's drew two red cards out of the first three picked and lost the module even though it was a 10/3 draw pile! Grrr.... But another very fun playing of this very fun scenario. |
| 2025-09-03 | (A) Jeff B | vs | Scott Sherer | | American / Free French win | 13.75 hrs | Americans hit heavy from the far south, while Free French approached hard through the SE (supported by all flexible armor). I blasted a MMG HS with my kill stack, and busted another frontline squad with my big mortar. Two small mortars busted. I rooted out a dummy tank, and lost an 8-0 either to aggressive scouting or a sniper hit (I forget). The Free French claimed the northernmost building against minor resistance. More bullets flew on the bottom of the turn, with an AT gun crew eliminated, a 8-0 mortally wounded, and a squad lost. The Americans for their part saw one of the broken mortar HS turned berserk (with a long way to run). Turn 2 saw the Germans get the worse for wear in the casualty exchange again, losing two squads to one HS for the Amis. The Amis seemingly claimed the SW most building, though making sure would be tedious with it being a large rowhouse. Turn 3 saw the Germans bag a flanking Sherman when the other AT gun sprung its trap. This same gun then about faced and blasted to bits a BAZ-toting HS and his commanding 9-1. The Germans lost another 8-0, as well as two more squads. Turn 4 was a disaster for the Germans, losing the net building in line for the Free French to a DC placement, one of the JagdPz to a bounding fire shot, a 548 to a mortar CH, but most importantly their field phone rolled boxcars. It certainly didn't help matters that the Allies started the turn red hot, averaging about 4.15(!) on their first ten shots. They would finish the turn averaging around 6.15 on twenty shots. The next building in line for the Amis was just guarded by dummies, and even the hotly contested 21P7 rowhouse fell. This made five buildings for the Allies and when, on the bottom half of the turn, the Germans lost 3.5 squads, and with no chance to fix their phone they called it a day. Certainly a highly replayable scenario, which we plan to do swapping sides. I liked it. |
| 2025-09-03 | (D) Scott Sherer | vs | Jeff B | | American / Free French win | | As Jeff said, really fun scenario but seems very tough for the defender with SO much ground to cover and so much American firepower bearing down on them. My plan was to concentrate my defenses on the "central core" of victory buildings and essentially conceding 21Y4, 21X5 and 10Z6. However, as seen in Jeff's write-up, this played into his strategy of attacking hard on each flank, and by the end of Turn 2, the Germans were beleaguered from two sides. From a strategic sense, I thought that having "interior lines" would be helpful for me to reposition the defenders to react to American thrusts, it turned out to be very hard to do because very quickly the Americans were able to bring fire to bear on almost the entire German garrison. Being relatively fixed in their positions, the Americans were able to concentrate and take the necessary buildings to obtain the early VC. Big scenario, but definitely worth the effort. |
